Chapter 5

Locating and Arranging Your Home on the Property

This is where your land and your plan finally meet. You’ve imagined rooms and listed priorities—now you’ll walk the site, study the lay of the land, and decide where the house truly belongs. Small shifts—50 feet this way or 10 degrees that way—can change everything: the view from your kitchen sink, how the sun warms the great room, even how safely you enter the driveway. Now is when the fun starts!
6 min read

Get Out on the Land

It’s time to grab your survey and topography map, maybe a few stakes, a tape measure, lots of paper, and head for your property. Don’t forget to wear your hiking boots, as you should spend a lot of time studying and walking your property.

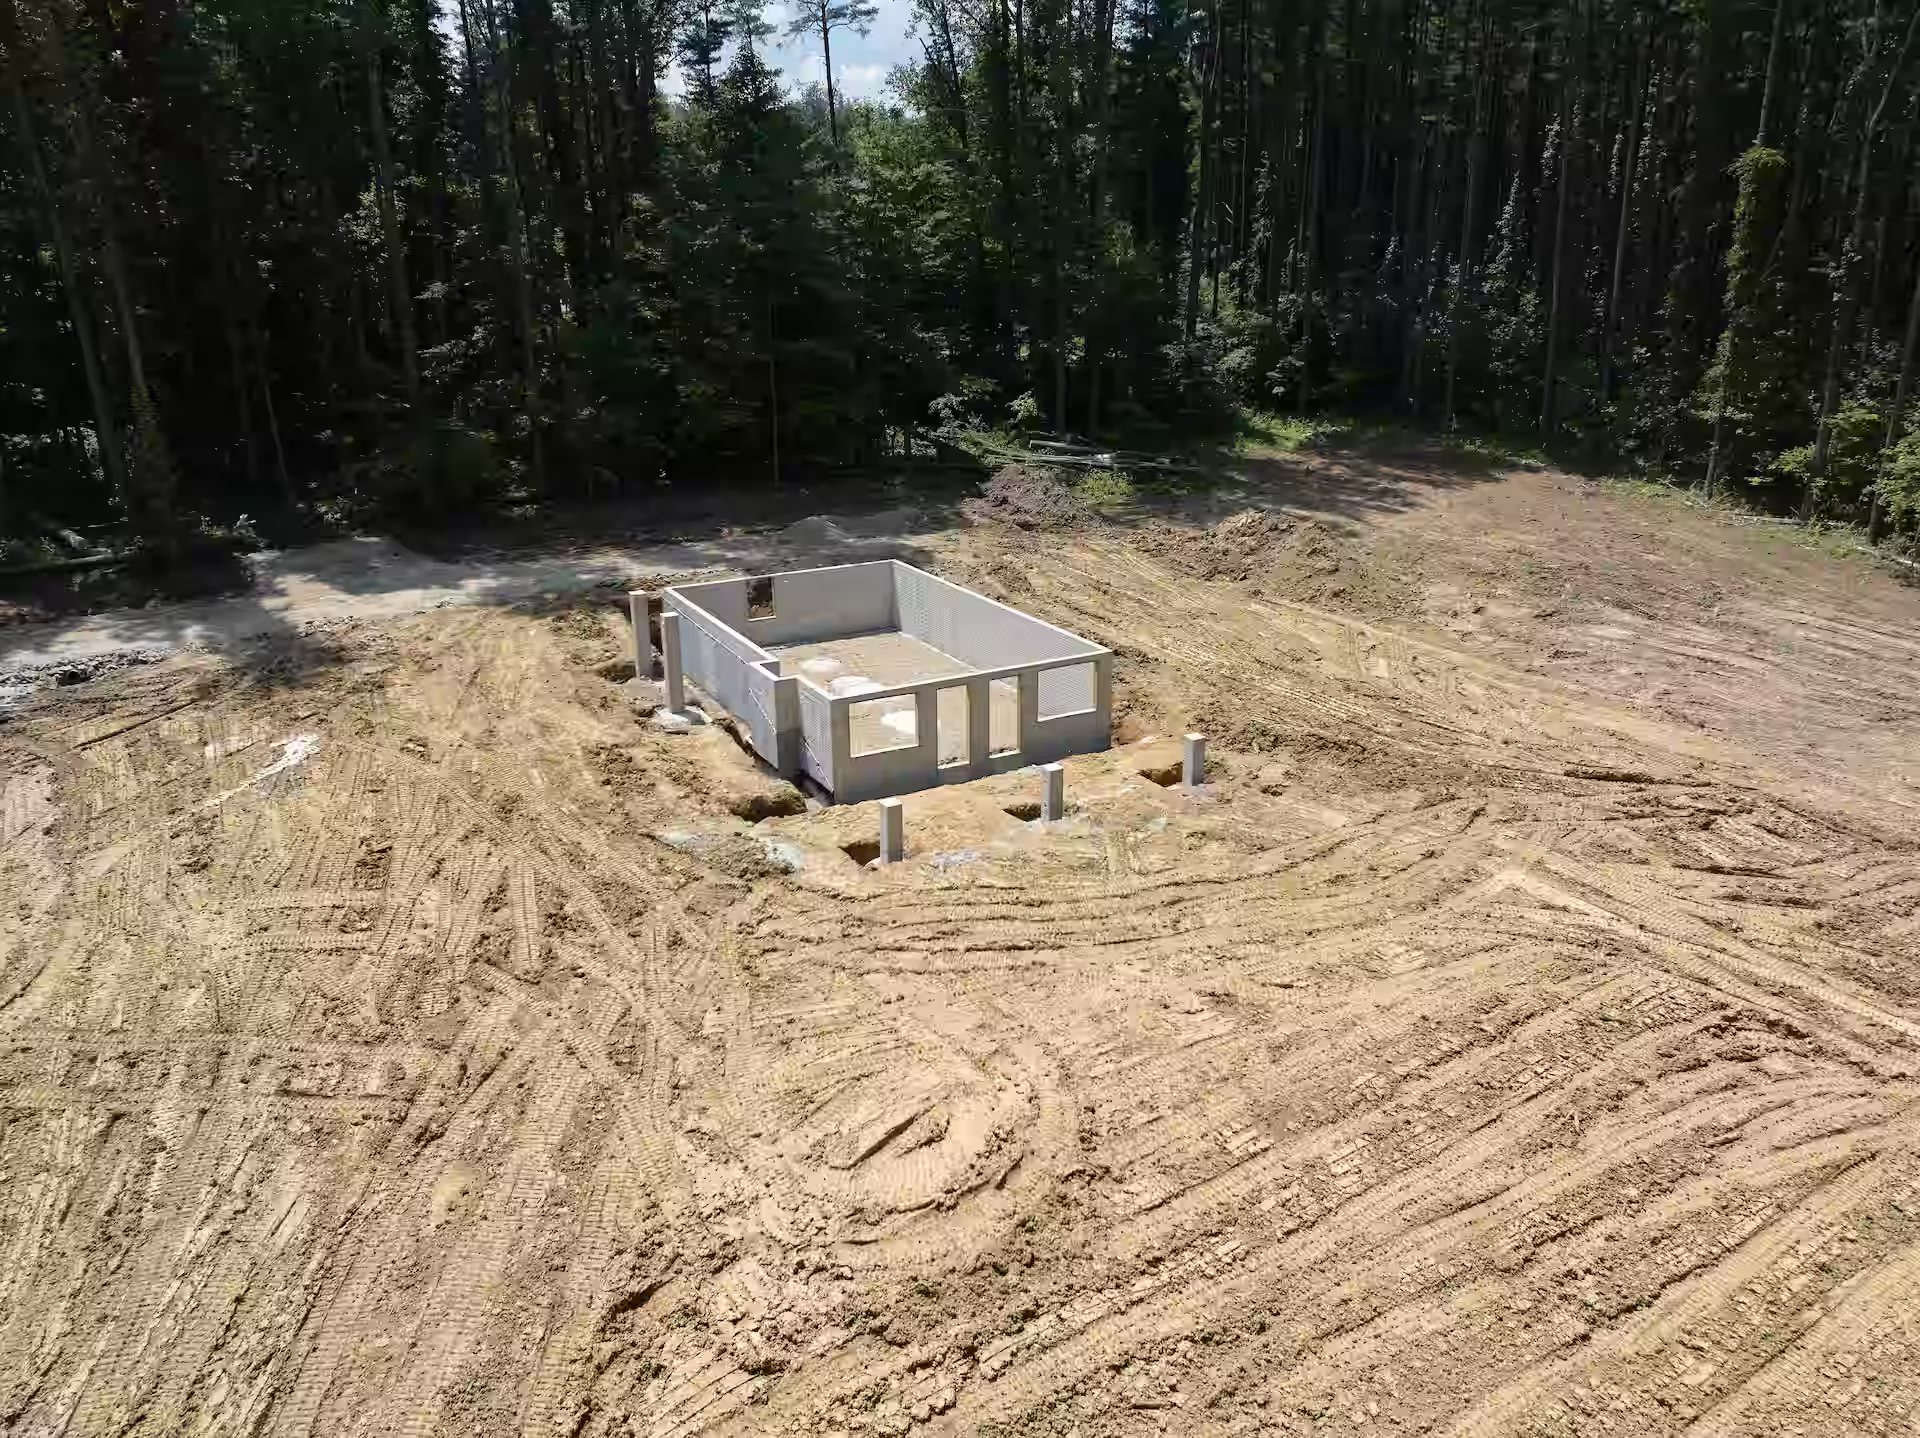
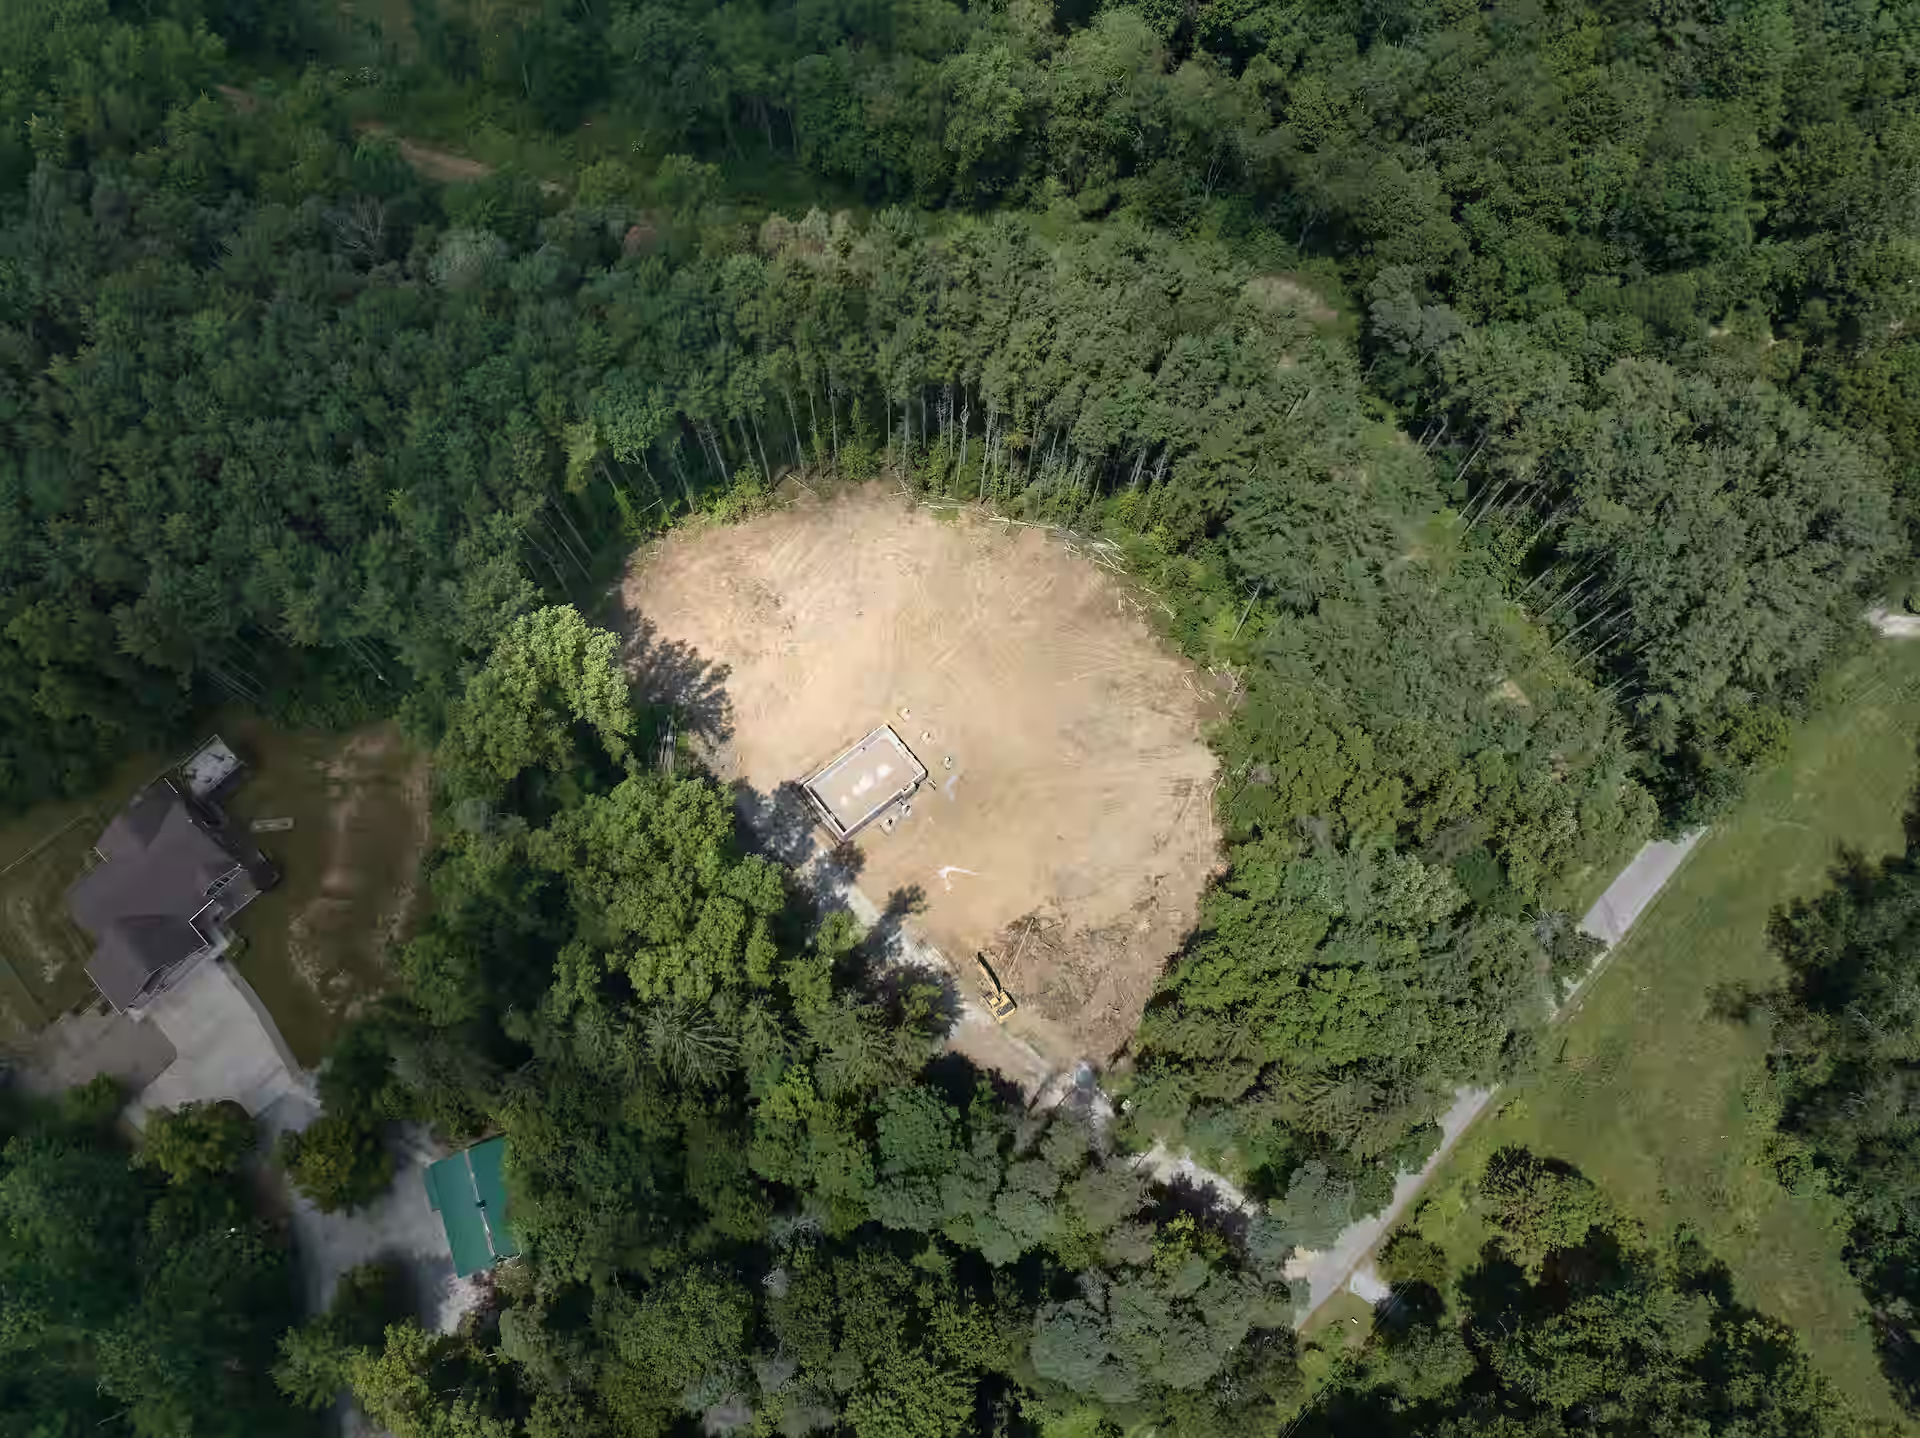
If you have a few acres, you will want to determine where on your property to place the home and how to arrange the rooms or spaces to best fulfill your needs and desires, and to get the maximum potential from it. Hopefully, as a bonus, the arrangement will allow you to sneak in a few wants as well. On every property there is always the best place to put the home and it’s up to you to find it.

With smaller lots you still want to arrange the rooms or spaces, but the placement of the home is normally pretty much a given. Sometimes, though, it can be turned in such a way as to take advantage of a particular view or other feature of the property.

You may have tentatively decided where to put your home when you bought your property. Maybe that’s why you bought it. Sometimes, though, moving it 50 feet or turning it 10 degrees can make a difference in the enjoyment of your home, such as giving you a better view and a safer, more convenient entrance.

Optional, image caption text

What to Look for as You Walk

Taking advantage of a view is only one of the many considerations of locating your home. As you walk, note natural landforms and water features—high points, low points, a ravine or knoll, lake/pond, swamp, woods, trees, creeks—and how they relate to short views and distant views. Pay attention to sunrise, sunset, solar south, north/south orientation, and prevailing winds. Observe traffic, roads, fence rows, and neighboring houses.

Now layer in practical items: a safe driveway entrance, driveway route, parking, garage access, walkways, potential walkouts, locations for outbuildings and garden areas, plus utilities like septic and well. And always keep your great room in mind and where it wants to be in relation to these features.

Drawing all the features on a copy of the survey map can help you decide the best place to set your home. We would recommend camping out on that spot for a few nights. You might be surprised what you can learn from that experience!

Optional, video caption text

Make a “Bubble Drawing” on Site

Once you’re pretty sure where you want to put your home, make what we call a bubble drawing by standing in the middle of where your home is to be located with a piece of paper and drawing circles where each room might be located. Large circles for the bigger areas such as the great room, smaller circles for the bathrooms, etc. No need to do them to scale at this point.

Start with the most important space first, which might be the great room. Where do you want it? Normally you will take advantage of the best view. However, there may be other considerations such as placing the front overlooking the drive or road and saving the best view for the sunroom. Then draw a circle indicating that space in the great room.

Optional, 360 caption text
Full Screen

Think in Wings and Adjacencies

Next you will have to decide if you want the kitchen wing on the right or left. Normally the garage should always be on the same side as the kitchen. If you put the kitchen on the right in order to let the garage in, thus compromising some of the view or sun, then put the bedroom on the opposite side. The addition would go rather near the bedrooms rather than the kitchen/dining area.

Assuming this first is a drawing of your lot and you are looking at the front (as if you were pulling up), which should the great room be on? The dining room on? And the bedrooms be on?

Now you’d have to decide if you want the kitchen on the front or on the back. For some, having a nice view from the kitchen sink is important. Others would rather have the kitchen sink where they can see who’s coming in the drive. If we put the kitchen to the back for the view, we will have to put the dining towards the front and lose the luxury of watching the sunrise from our dining table. Because of that, we will put the kitchen towards the front and draw a circle for it there, and another one for the dining towards the rear.

For the master bedroom wing, the obvious choice is to have the bedroom towards the back and the bath towards the front. We make circles accordingly.

Perhaps you would like a study or office. Ideally that would be towards the front. That way, when you have clients come they don’t have to go through the house to get to your office.

Of course, the entry or foyer will need to be in the front and ideally lead into the great room in order to give your guests that surprise “wow” as they step inside.

A powder room or half bath and guest closet near the entry and study would be good. The laundry room, closets, and miscellaneous can be decided later and be filled in when you take it to the next step of converting the bubble drawing to a design concept.

Putting the garage on the left got pretty much decided when you placed the kitchen. You most generally locate it there for the convenience.

Download the PDF

Download a PDF flyer for easy offline reference.
Download PDF