
Back to the Academy
Step 5: Locating and Arranging Your Log Home on the Property

Step 5

Locating and Arranging Your Log Home on the Property

This is where your land and your plan finally meet. You’ve imagined rooms and listed priorities—now you’ll walk the site, study the lay of the land, and decide where the house truly belongs. Small shifts—50 feet this way or 10 degrees that way—can change everything: the view from your kitchen sink, how the sun warms the great room, even how safely you enter the driveway.
2 min read
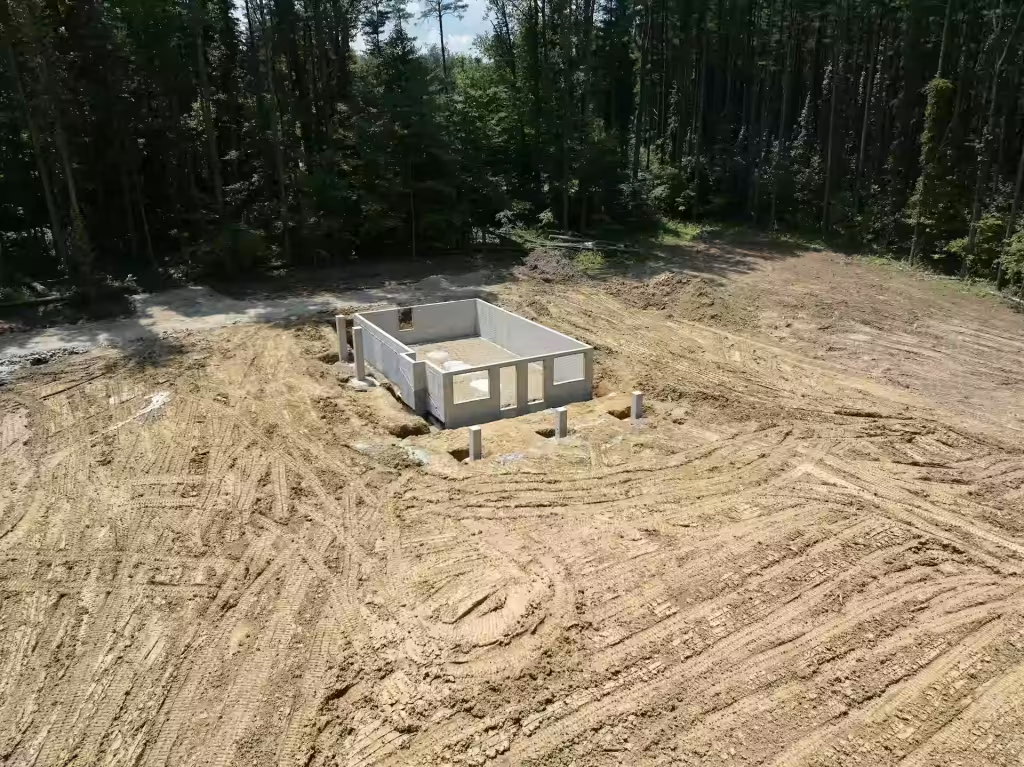
Aerial view of a poured concrete foundation on a wide cleared pad, tyre tracks in the bare earth and woods around the edge

Get Out on the Land

Grab your survey and topography map, some stakes, a tape measure, and head for your property. Spend a lot of time studying and walking it. On every property there is always the best place to put the home — it’s up to you to find it.

What to Look for as You Walk

As you walk, note natural landforms and water features — high points, low points, ravines, woods, creeks — and how they relate to short and distant views. Pay attention to:

  • Sunrise, sunset, solar south, and prevailing winds
  • Traffic, roads, fence rows, and neighboring houses
  • Safe driveway entrance, parking, and garage access
  • Locations for outbuildings, garden areas, septic, and well

Drawing these features on a copy of your survey map can help you decide the best placement. We recommend camping out on that spot for a few nights — you might be surprised what you learn.
‍

First Floor Rough
Full Screen

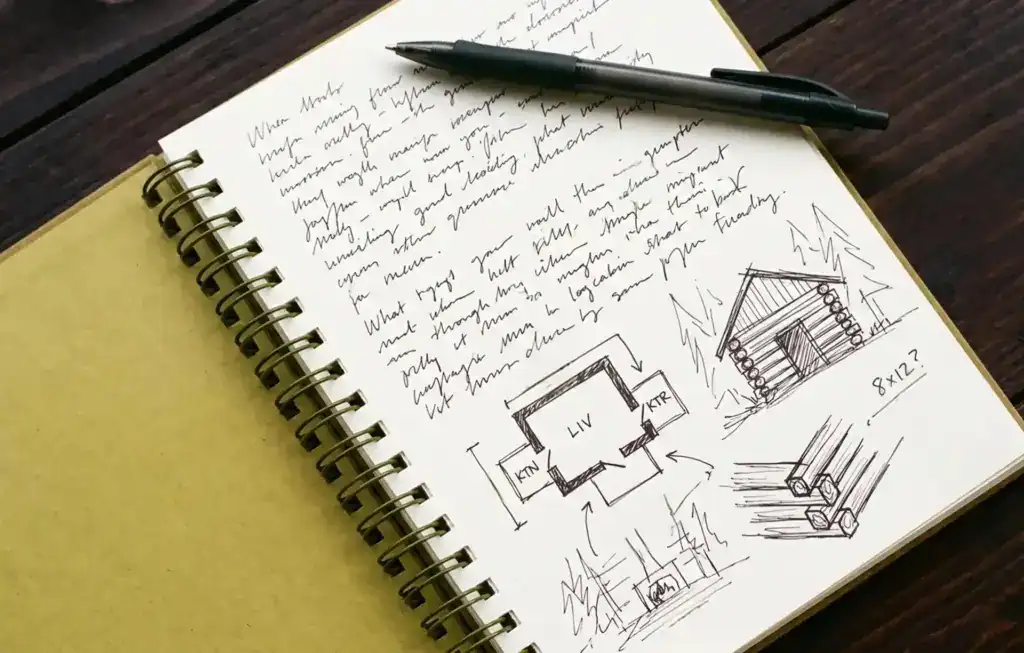
Make a “Bubble Drawing” on Site

Once you’re confident in placement, stand in the middle of where your home will be and draw circles on paper representing each room — large for the great room, smaller for bathrooms, etc. Start with the most important space first, take advantage of the best view, then work outward in wings and adjacencies from there.

Example bubble drawing

Consider Adjacencies

Decide if you want the kitchen wing on the right or left — the garage should always be on the same side as the kitchen for convenience. If the kitchen compromises some view or sun, put the bedrooms on the opposite side.

Imagining the lot from the front, consider: Where should the great room face? The dining room? The bedrooms? Kitchen placement often comes down to a personal trade-off — a view from the sink versus watching who’s coming up the drive. There’s no wrong answer, just priorities.

A few rules of thumb as you place your circles:

  • Master bedroom wing: bedroom toward the back, bath toward the front
  • Study or office: toward the front, so clients don’t walk through the house to reach it
  • Entry/foyer: front-facing, leading into the great room for that “wow” moment as guests step inside
  • Powder room and guest closet: near the entry and study
  • Laundry, closets, miscellaneous: fill these in later when you convert the bubble drawing to a design concept

By the time you’ve placed the kitchen, the garage location has largely decided itself.

‍